This will be a guide on how to create a TrueNAS Core virtual machine using Virtual Machine Manager and QEMU/KVM.
This guide assumes you already have Virt-Manager and QEMU working and will focus on the VM itself.
TrueNAS ISO
First you need to get the iso.
You can download it from this page.
It’s kind of hard to see, but at the bottom of the page it will say No Thank you, I have already signed up. if you want to skip giving up an email.
Then click the big green download button, to get your iso.
For this guide I’m using TrueNAS-13.0-U5.2.iso. It is important to note the version number 13.0, as we will need this later.
Creating the VM
- Start by hitting
Create a new virtual machine
Step 1 / 5, Connection & Install media
-
Choose
QEMU/KVMfor the connection -
Choose
local install media (ISO image or CDROM) -
Hit
Forward
Step 2 / 5, Iso selection & VM type
-
Hit
Browse>Browse Localand choose the iso you downloaded -
Uncheck
Automatically detect... -
For the type, you want to choose
FreeBSD xx.xwherexx.xis the version number in the name of the iso you downloaded. My iso was calledTrueNAS-13.0-U5.2.isoso I’m choosingFreeBSD 13.0. -
Hit
Forward
Step 3 / 5, Ram & CPU
-
You’re supposed to have at least 8gb of ram. But I’m using 4 becauses I’m a little bit short right now, (you can change this later anyway)
-
Choose 1 or more cpu, I’m sticking with just 1
-
Hit
Forward
Step 4 / 5, Disk
-
I like to choose where and what to do for storage, so I’m checking
Select or create custom storage -
Then hit
Manage -
Then the plus button next to Volumes:
Create new volume -
Choose a name for you disk, I’m using
TrueNASCore_Boot -
Choose
qcow2for the type -
You want at least 16gb of disk space
-
Hit
Finish -
Choose your new disk and then hit
Choose Volume
Step 5 / 5, Finishing up
-
Set the name, I’m calling mine
TrueNASCore -
Hit
Finish
Installing the VM
Now that you’ve made the VM, we gotta set it up.
Right click the VM and hit Run
Boot menu
You will get a boot menu like so:
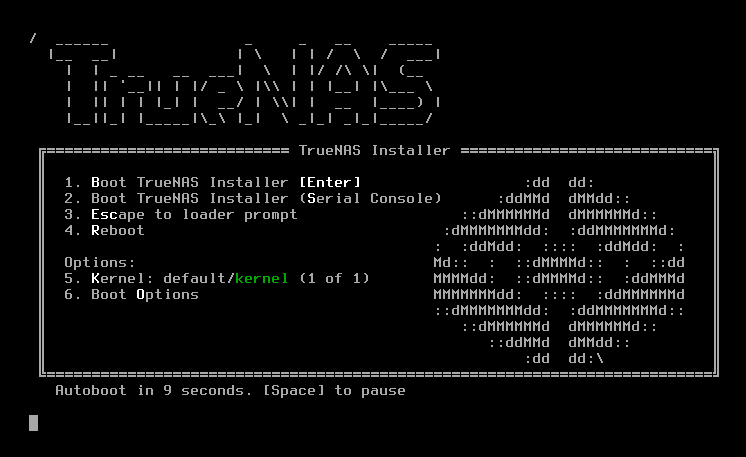
Choose option 1, Boot TrueNAS Installer
Install screen
You will be given 4 different options:
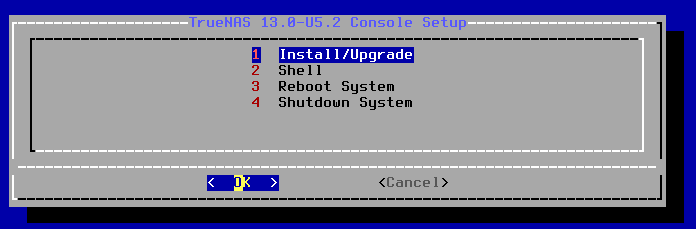
Choose option 1, Install/Upgrade
If you’re using less than 8gb of ram, you will get a warning:
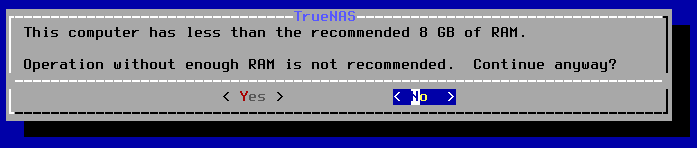
Hit Yes and continue despite the warning.
Disk selection screen
Now you can choose the disk you want to install TrueNAS on:
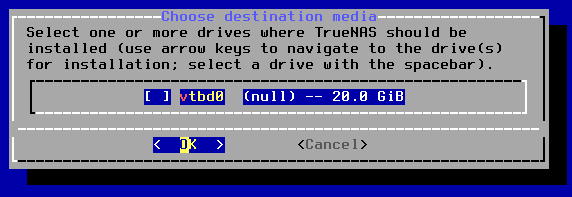
Choose your disk and then hit OK to continue.
You will get a warning about deleting the disks data:
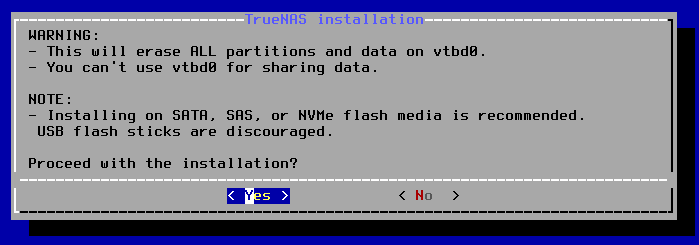
Hit Yes to proceed.
Root password
After choosing a disk it will ask you to choose a root password:
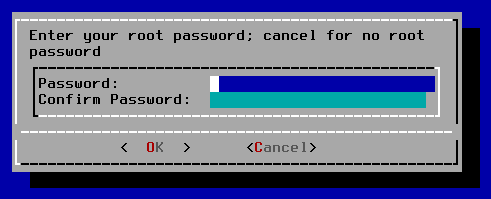
Enter in a root password and click OK to continue.
Boot mode
Now you need to choose the boot mode:
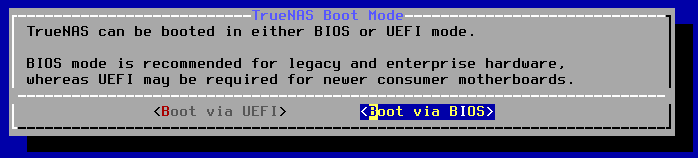
Choose Boot via BIOS, I’ve never had UEFI work for this.
Finishing installation
Wait for the install to finish, when it’s done you will get a prompt to remove the media:

Hit OK and it will take you back to the first installation screen.
Choose option 3, Reboot System and wait for it to boot the disk, if all goes well, after booting and choosing option 1, you will land in a tty:

You’ve now installed TrueNAS in a VM!
After installation
Once you’ve installed and have the tty, you probably want to actually test it out.
In the tty it will tell you the ip address of the webui, in my case it says 192.168.122.83.
Open the address in your browser to access the webui:
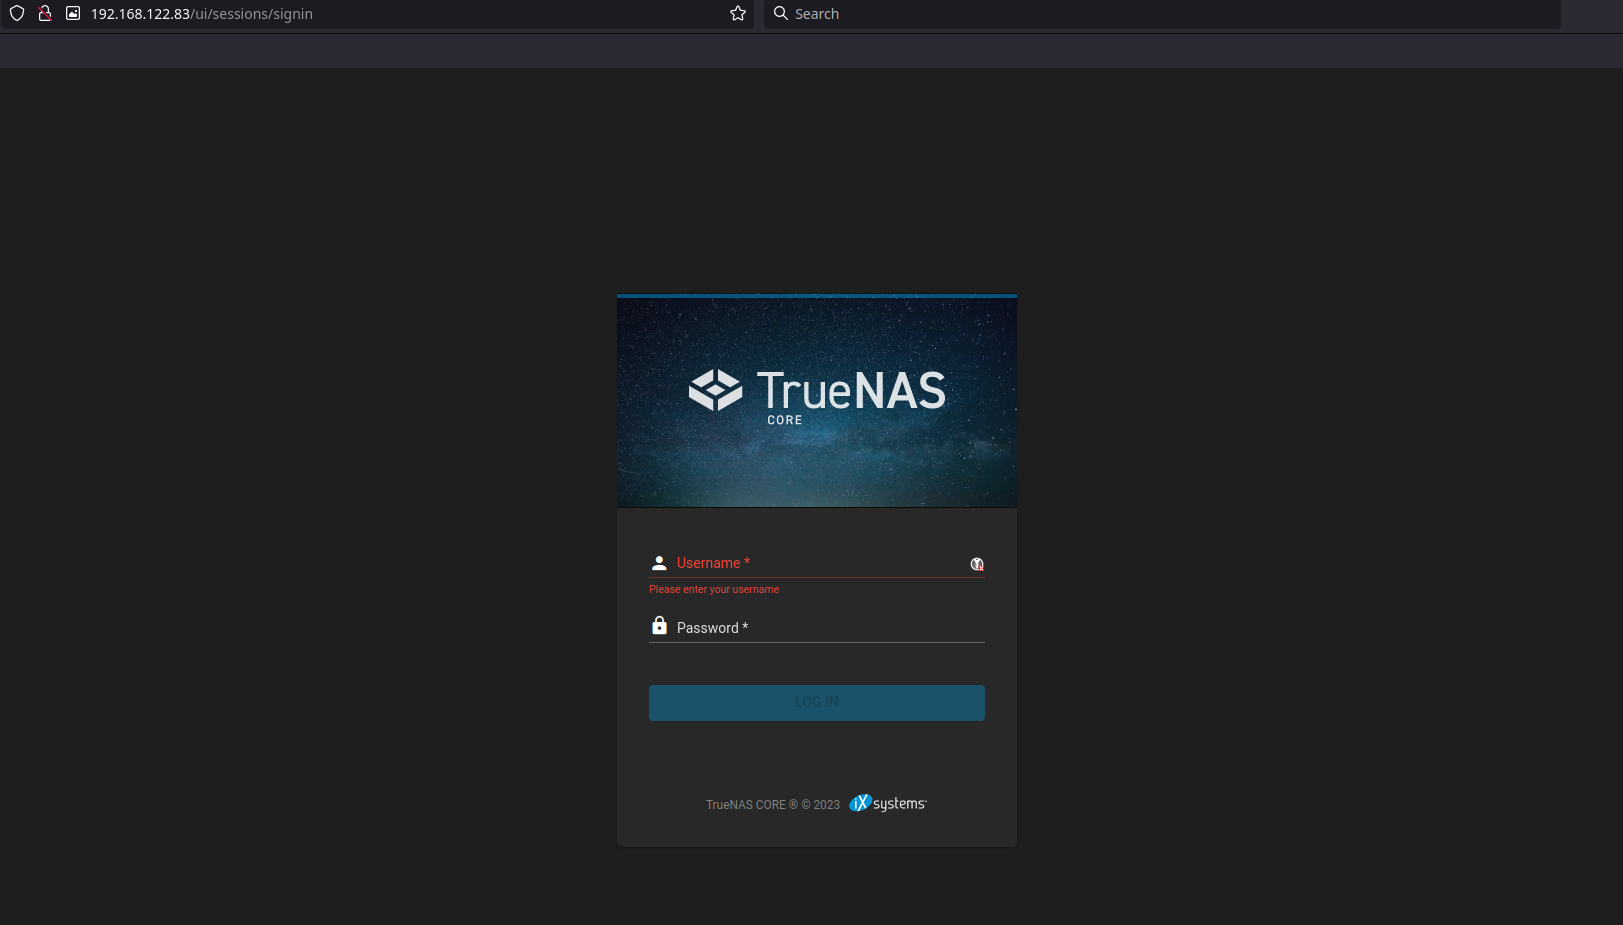
Login using the root password you set and you’re all done!
Adding disks
The whole purpose of installing TrueNAS in a VM is to mess around without breaking your disks. So lets add some disks!
Note: these steps should work while the VM is running.
-
If the VM window is not open, right click the VM and hit
Open -
In the VM window hit
Show virtual hardware detailsin the top left corner -
Hit
Add Hardwareat the bottom -
Choose
Storage, it should already be selected -
Check
Select or create custom storagetheManageand just like before, we’re gonna make some disks -
Then the plus button next to Volumes:
Create new volume -
Choose a name and size, then hit
Finish -
Click your new disk and hit
Choose Volume -
Drop down advanced and in
Serialgive it a unique value, doesn’t matter what, you will want this -
Hit
Finish -
Repeat steps 4 - 10 to create as many disks as you want
Once you’ve added more disks, you should see them appear in under Storage > Disks in the webui